|
The DoGA L2 / Bryce 4 Tutorial Note:
This tutorial assumes that you have a general working knowledge
of both DoGA, and "<FIG
X>" Refers
to a picture |
|
Ok, so you've got Doga, and you've made a few ships, now what?
The very nature of DoGA is one of simplicity, it was designed to
make it easy for beginners to learn 3D model making. But that same
simplicity also means that the pictures rendered with DoGA are not
quite as stunning as one would hope. Bryce 4 is a 3D digital art program with the ability to render beautiful realistic looking 3D landscapes. It also has the ability to import DXF mesh files, which is what this tutorial will cover. |
|
-Step 1 Exporting from DoGA Open
DoGA, then click
Design
An Object,
then click Modify
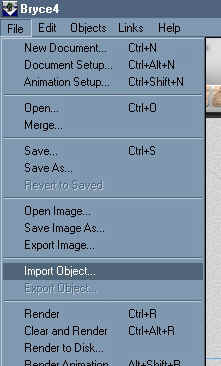
Existing Object. -Step 2 Importing to Bryce Open
Bryce, then click File,
then Import Object.
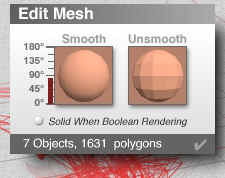
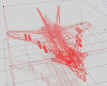
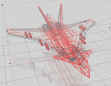
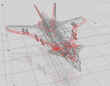
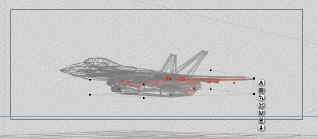
<FIG 2> -Step 3 Smoothing Ok,
now if you look at the preview window or even do a quick render
of your new ship you will find it to be gray in color and kind of
blocky looking. The first thing we are going to do is to "Smooth"
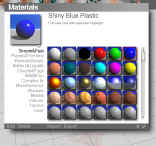
it out. Click the check mark when you are done. -Step 4 Texturing Now
the fun part. It
should be noted, that from this point on, you should be VERY careful
not to accidentally move any of the parts, because once you have
moved it out of it's original position, it becomes VERY difficult
to get it back to where it belongs. If this should happen, it's
usually easier to just delete the whole ship and start over. Avoid
this problem by using the "Tab" key, and not the cursor
to select parts. -Step
5 Finishing
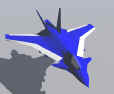
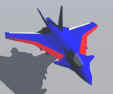
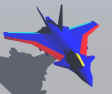
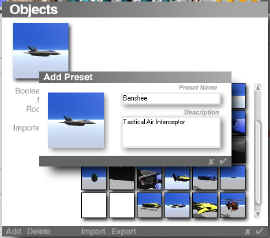
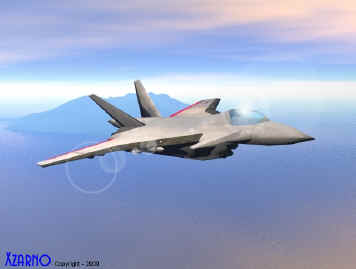
Up A window will pop up, give your ship a name and a description, then click the check mark. <FIG 10> That's it, now next time you want to use that ship in a picture, just click the small arrow next to Create. Then click the ship you want, then click the check mark. That ship will now load to your picture. Once all that's done, render your picture, than sit back to admire your work. <FIG 11> The End :) Note: Lens-Flair Glint Off Of Windshield Done With KPT-6 |
Figure 1 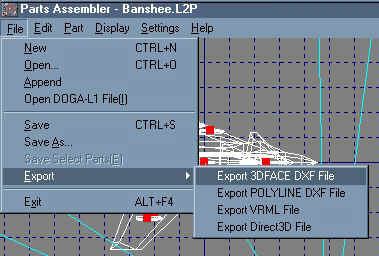 Figure
2 Figure
3
Figure 4 Figure
5 Figure
6 Figure
7 Figure
8 Figure
9 Figure
10 Figure
11 |

|
To see more
examples of this tutorial in action, or to download |